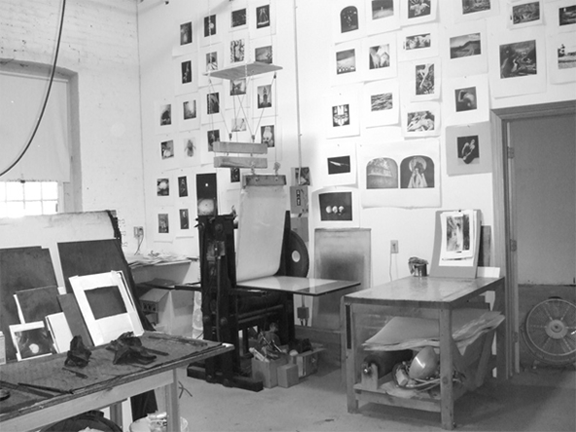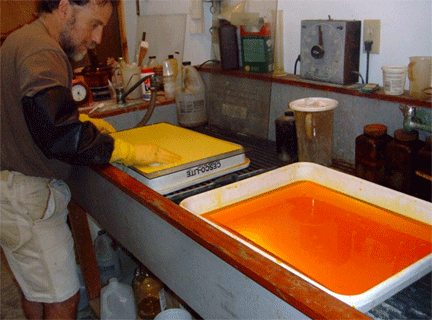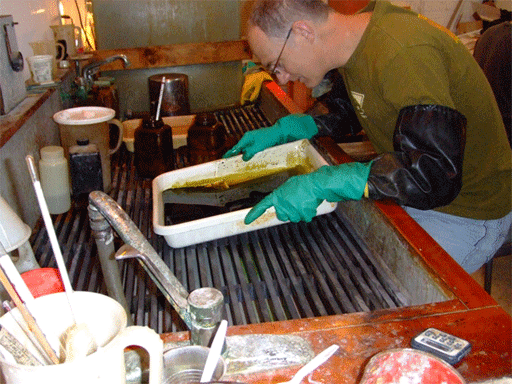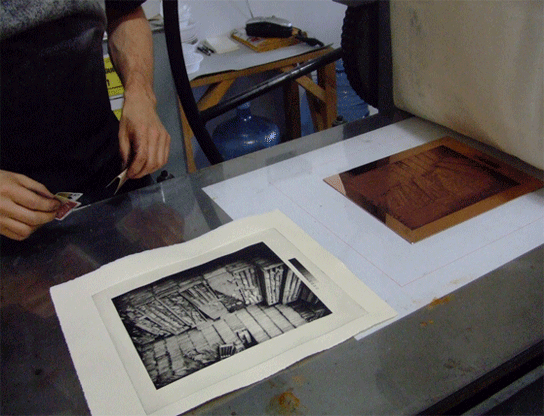
View of part of the Pressroom
Outline for 5 day photogravure workshop
Demonstration of process, brief description of positive and densitometry, exposure, tissue laydown, development, stopping out, aquatinting, heating aquatint, etching,and printing.
If time permits in the afternoon students proceed to make their own positives either digitally or in the darkroom. Discussion of positive requirements, darkroom technique and chemistry. Digital method and curves.

Participants commence first plate attempt with instructor assistance.
Entire day
Participants etch and make initial proofs of plate. Printing with instructor assistance.
Entire day.
Hands on demonstration of wiping technique and printing.

Participants make second plate with less supervision. Some people print while others make plates.

Photographers will often want to devote more time to printing, as printing a copper plate tends to be a completely new experience.
Wrap up.